In this program we start by refreshing the basics and learning to use precise clear aids, which is essential, no matter what level you are riding. Follow each season and learn how to build up dressage movements step-by-step. By the end, your horse will feel like an extension of your body and mind, which is an incredible feeling!
with Fleur
Follow each season starting with the basics and learn to build up movements step-by-step.
Scroll through each season!
Spring
Summer
Autumn
Winter
Spring Season
Spring has sprung! In this first season you will learn which parts of your horse are influenced by your body and how to train your horse to become more responsive to 'light' rider aids.
Download our quick reference cards for each lesson to keep you and your horse on track!
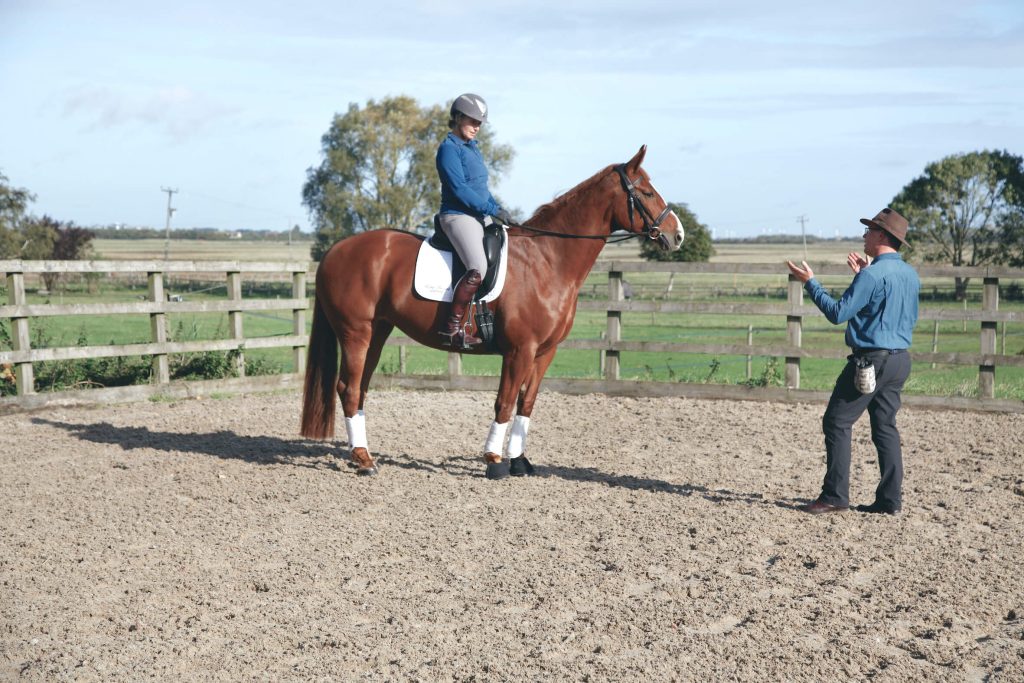
Spring: Lesson 1
The Six Connections
- Invisible box
- Six connections
- Lego Man
- Barbie Doll
- Rider body corresponding with horse’s body
- Neutral place of relaxation, halt
'Lego Man & Barbie Doll' - this analogy keeps your rider position consistent.
Imagine knowing the answer before you’re even asked the question? In this lesson, Jenku will teach you the ‘Six Connections’ and help you to clean up your riding using a simple 'Lego Man and Barbie Doll' analogy which will stick in your mind forever! It all begins with the Invisible Box, where your horse learns to 'find neutral' and a place of relaxation. What follows are simple exercises done either at a halt, or on the spot that will help Fleur later in more complex ridden work.
So what are the 'Six Connections'? Jenku explains that your arms, legs, shoulders and pelvis correspond with the horse’s body. Everything above your belt controls what’s going on in front of the girth. Everything below your girth, controls things behind the girth. Approaching riding in this way, your horse becomes an extension of your body, which is an incredible feeling!
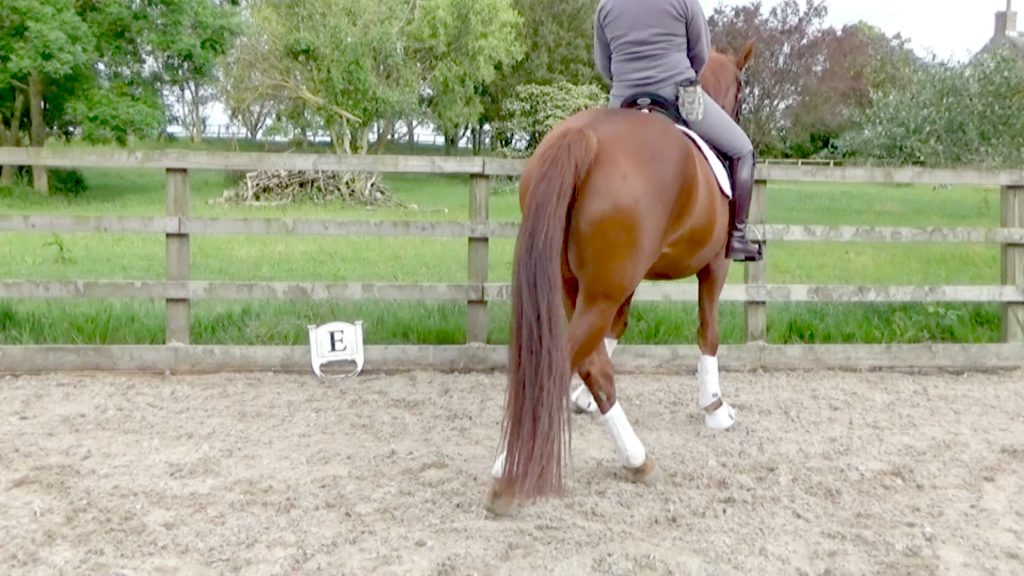
Spring: Lesson 2
Nose to Wall
- Dead to the leg
- Light and responsive
- Leg aids
- Dressage conformation
- Balance
- Rider lifting heel
- Rider balance
- Leg yield
- Loosening back muscles
- Travers
- Using seat like a pendulum
Help your horse become responsive to 'light' leg aids in leg yield and travers.
Is your horse dead to the leg? In this lesson, Jenku will teach you how to help your horse become light and responsive to leg aids. This is helpful for Fleur, as she doesn’t have ideal dressage conformation and can get quite strong if she loses her balance. It’s easy to get into the bad habit of squeezing madly with your leg, lifting your heel as you do so. This ends up disrupting your balance and - before you know it - you’re standing on the balls of your feet.
Leg yielding, using the wall of the arena as a guide, is an excellent way to help Fleur soften through her back, and at the same time, train the leg aid. Instead of constantly driving with her leg, Tracy uses light pressure in time with Fleur’s hind leg as it steps across and under. Then, as a seamless progression from leg yielding using the wall, Fleur and Tracy move into 'travers'. Tracy uses her body as a pendulum to help Fleur take bigger steps. Fleur’s back is relaxed and so she’s able to use her abdomen to bring her hind leg forward and under. Textbook!
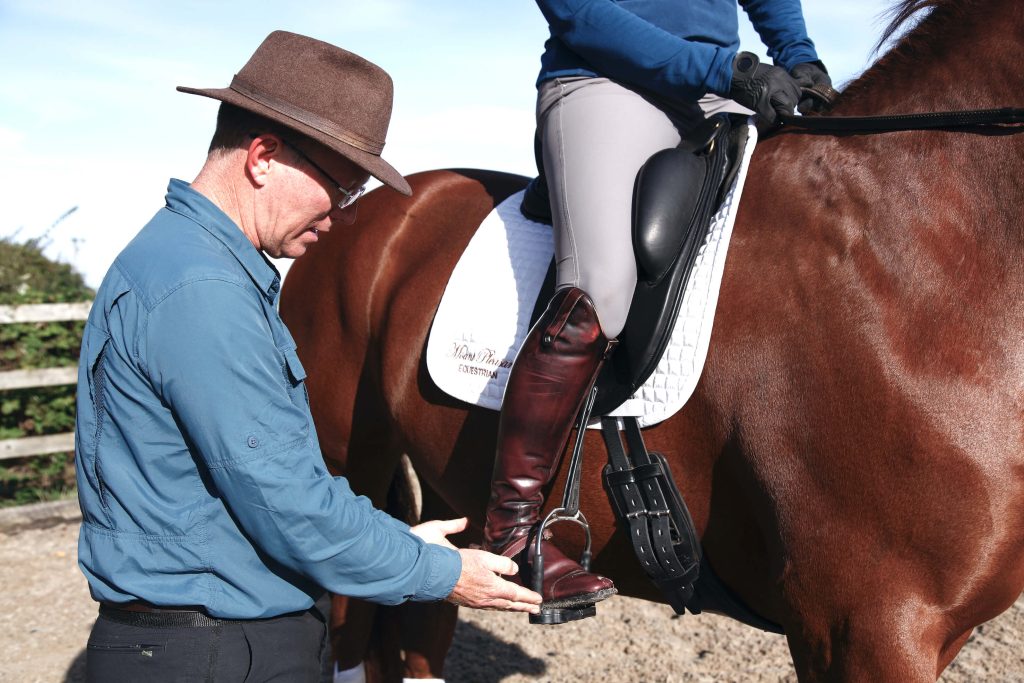
Spring: Lesson 3
Engagement
- Engagement
- Foundation for advanced dressage movements
- Balance
- Releasing lactic acid
- Click and reward
- Precise feedback
- Rider position
- Soft elbows
- Quieter way of riding
'More engagement' is every judge's favourite comment. Let's improve!
If you feel that you’re doing everything right but that your horse is still not engaging, in this lesson, Jenku will show you how to set up your own body so that your horse can consistently engage its inside hind leg correctly. Fleur and Tracy have been a good team for over a decade and are keen to do advanced dressage movements with grace and balance. This means regular schooling and fine tuning but schooling should not be torturous for your horse.
Getting the results you want means allowing your horse to stretch and release lactic acid build up in between short bouts of schooling. Sadly, horses are often held in a contracted frame for too long until the lactic build up is so extreme that they act out in order to get some relief. Tracy schools Fleur on the circle until she offers the engagement that Tracy is looking for. She clicks and rewards Fleur immediately, giving her very precise feedback. Tracy loves this quieter way of riding, and so do her horses. as they are motivated to keep trying to give the right answer.
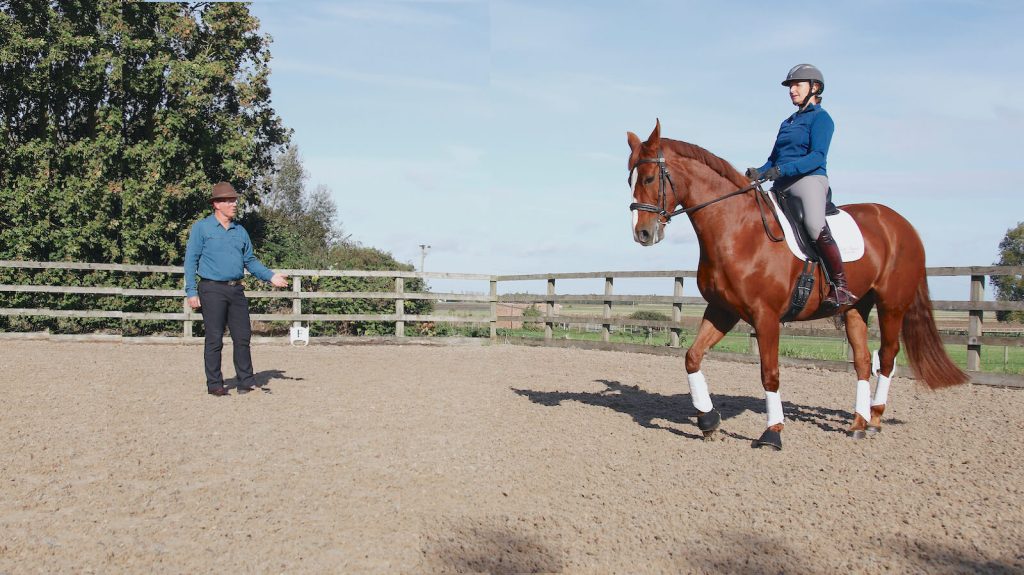
Spring: Lesson 4
Shoulder-In to Renvers
- Shoulder in
- Renvers
- Counter curve
- Connecting mouth with swinging hind leg
- Breaking down movements
- Flexibility
- Relaxation
- Continuous nature of circle
- Stress-free ridden work
Learn how to use your rein aid to influence your horse's hind leg.
You know you’re a bit of a dressage geek when you get excited about the connection between the inside corner of your horse’s mouth and her outside hind leg. In this lesson, Jenku shows how 'shoulder in' to 'renvers' can be achieved quite simply by breaking down the movement into manageable chunks. Tracy and Fleur start by playing around with the connection between the inside rein and the inside hind leg. This disengages Fleur’s hind legs and is a great movement for flexibility and relaxation.
Then, while riding 'shoulder in' on a circle, Tracy cues Fleur to pick up a counter curve on the circle to change the bend in and move into 'renvers'. Even for Tracy, a top level dressage rider and trainer, this is a light bulb moment; ‘the feeling of connecting Fleur’s mouth to her inside swinging hind leg is amazing. This concept is helping me in other movements, like in half pass if I feel like I need more crossing I have a new button - it’s like magic!’
Downloadable Quick-Reference Cards
Lesson:The Six Connections

Stand your horse next to the mounting block level with the stirrup - ‘tsk’ & reward for standing quietly and relaxed.

Lesson of the hand. Raise the bit upwards into the corners of your horse’s mouth with your hands. Hold until your horse stretches down - ‘tsk’ & reward.

Lateral flexion. Turn nails upwards and bring hand to opposite shoulder to fl ex the neck - ‘tsk’ & reward. Repeat 5 times on each rein.

Six connections. Think about your own body and which parts of your horse each corresponds to when applying an aid.

Turning the shoulders. Bend your elbows, think ‘Lego man’ arms, and swivel your waist, think ‘Barbie Doll’. Repeat on each side.
REMEMBER:
The aim is to understand the roles and be in full control of each part of your own body so that you can be clear and consistent with your aids.
The aim is to understand the roles and be in full control of each part of your own body so that you can be clear and consistent with your aids.
- Spring
Summer Season
In this Summer Season you will learn how to break down movements into smaller component parts, which makes it so much easier to communicate what you want from your horse.
Summer: Lesson 1
Cadence
- Developing cadence
- Shoulder in
- Renvers
- Relaxation
- Swing
- Loosening your horse’s back
- Engagement
- Rhythm
- Suppleness
- Rider position
- Leg aids
- Lightness
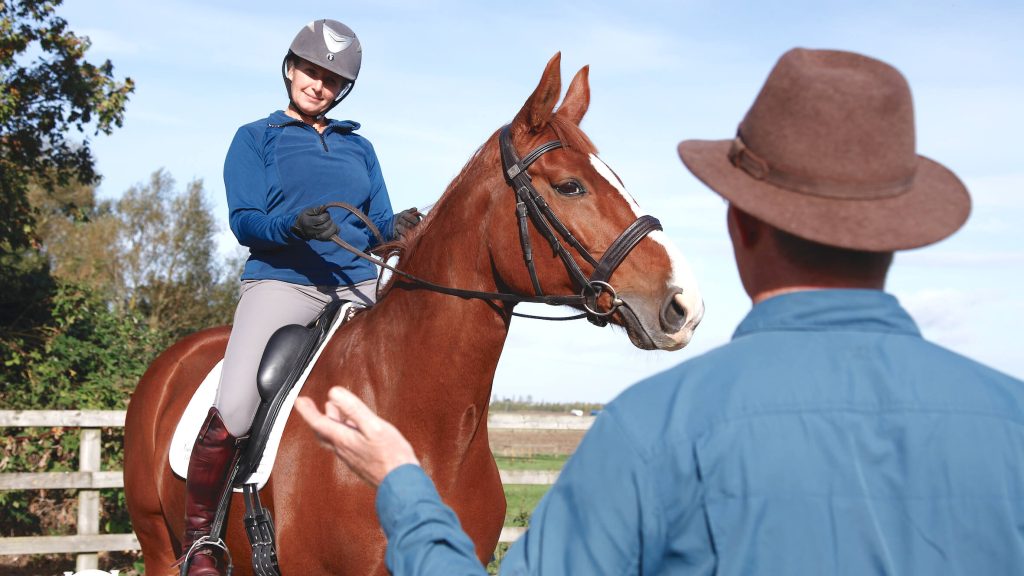
This is fantastic for loosening your horse's back and developing cadence.
Fleur and Tracy are a well-established team, but they are always eager to up their game. In this lesson they continue to work on 'shoulder in to renvers' but now progress to trot. Jenku is keen to help them sprinkle some magic as they work on cadence and relaxation to ensure that Fleur finds her swing!
A simple way to get to grips with this movement is to imagine a plate with a banana next to it with the curve towards the plate. In shoulder in, the front of the banana is closer to the plate. Flip the banana to face away from the plate and Voila! Now you have renvers. The whole point of this exercise is to loosen your horse’s back and help her swing her inside hind leg forward and under so that you have a lovely rhythmic trot and a soft bend through the whole body. Remember to keep your legs long and soft. You can do this by training your horse to listen to your leg aids. Ask once and if she doesn’t listen, follow up with a tap of the whip. Slowing down will give you time to think and will help you develop cadence, which you need for piaffe and passage.
Summer: Lesson 2
Rein Back
- Rushing backwards
- Control over each foot fall
- Straightness
- Lightness
- Correct leg aids
- Release pressure
- Shoulder in
- Ambidexterity
- Groundwork
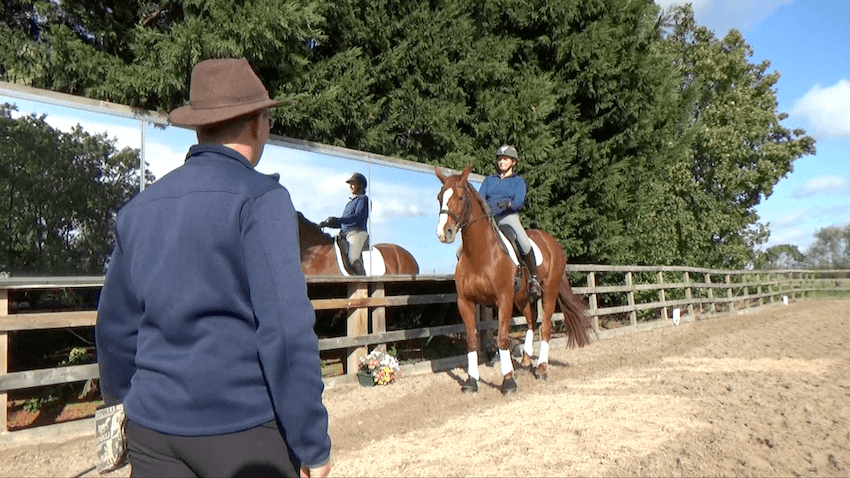
Do you know the difference between rein back and piaffe aids? You will now!
Does your horse block or rush backwards in the rein back? In this lesson, Jenku will teach you how to get control over each foot fall to ensure the rein back is straight and light. Forget what you’ve learnt about traditional rein back aids, instead move your legs back behind the girth without squeezing. Make light contact with the alternate mouth corners, and your horse will take a step back.
To begin with all Fleur needs to do is take two steps back, then Tracy releases the rein pressure and rewards. If your horse’s quarters fall into the arena, try setting up in shoulder in position as this will help to straighten. If you get stuck, instead of pulling harder on the mouth ask a friend to stand in front of you with a whip to cue each front foot to step backwards. Your horse will soon understand what you’re trying to communicate and move away from the pressure. To up the criteria, Tracy and Fleur leave the security of the wall and test their rein back in the middle of the arena. Looking good!
Summer: Lesson 3
Canter Transitions
- Canter transitions from trot
- Walk and rein back
- Control over each body part
- Rider posture
- Body weight
- Balance
- Correct canter lead
- Lego man
- Building blocks
- Biomechanics
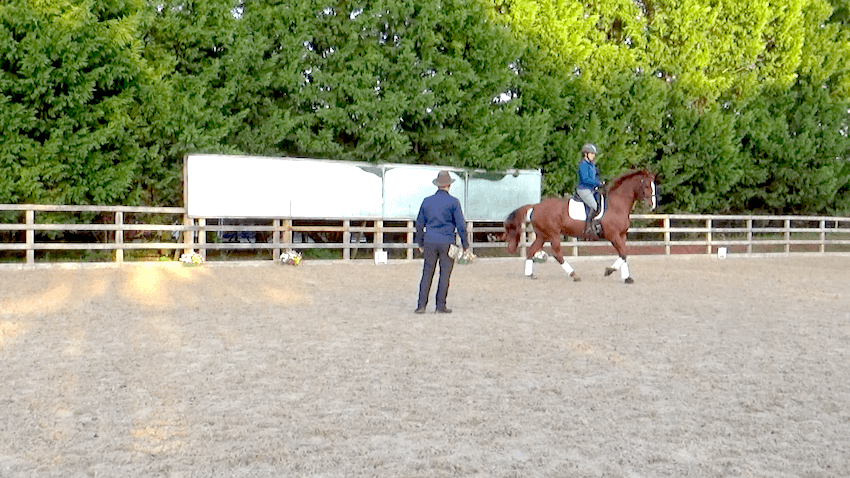
Pay attention to the inside hand - this is a game changer. You'll see why later!
Transitions! Transitions! Transitions! We do them all the time but it’s important to have control over each body part to ensure an elegant transition. In this lesson, Tracy and Fleur demonstrate transitions from trot to canter, walk to canter and finally rein back to canter. You will see how breaking down movements into smaller component parts makes it so much easier to communicate what you want from your horse.
In transitions, your 'form' is important as your body weight will set the horse up. If you shift your weight slightly to the outside of the circle, your horse will weight shift and lift the inside shoulder. This makes it possible to strike off on the correct inside lead. If you’re in 'Lego Man' position, by default as you weight shift outside, your inside hand will raise slightly. This will cue the corner of your horse’s mouth to lift the shoulder. All the building blocks that Tracy and Fleur have been working on fall smoothly into place in this lesson. Poetry in motion.
Summer: Lesson 4
Hock Flexions
- Rewarding smallest try
- Subtle aid
- Clarity of the aids
- Preparation for piaffe
- Lightness
- Engagement
- Using mirrors
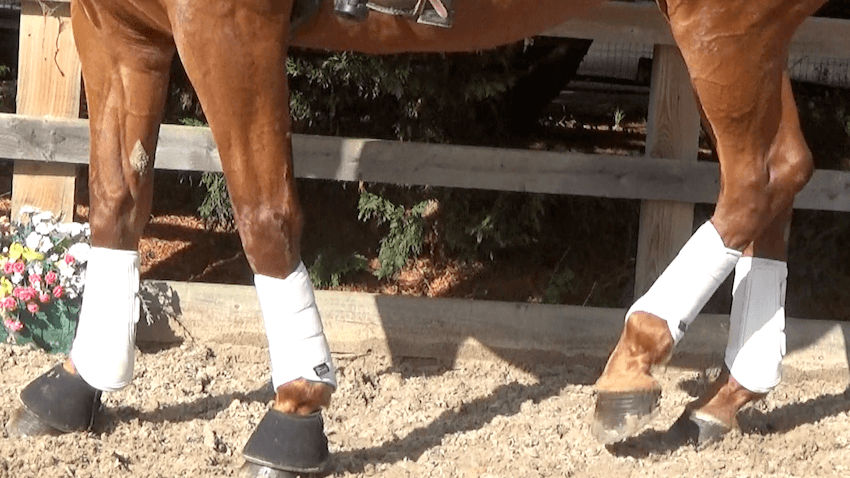
The big dream is piaffe... but it all starts with this tiny hock flexion.
This lesson is about two things. The first is about recognising and rewarding the 'smallest try' and helping your horse have an “Aha!” moment understanding the subtlest aid. The second is about practising hock flexions in preparation for piaffe. Tracy starts with Fleur’s nose to the wall and leg yields down the side of the arena. Next, they move onto a circle where Tracy can make sure that Fleur is responsive to a light leg aid. Don’t nag your horse, otherwise she will end up dead to your leg. Ask once and follow up with a tap with your whip if she’s not responsive. If you’re struggling to feel the inside hind swinging through nicely, stay with this exercise before moving on to 'hock flexions'.
When you do 'hock flexions', it helps having a mirror so that you can see when your horse lifts her hind leg. In the beginning it might be so subtle that you won’t feel it and you don’t want to miss the smallest try. So far in this journey Jenku has helped Tracy build in buttons with Fleur, and although very subtle now we can clearly see the results, as Fleur lifts the hind leg that Tracy is asking using only a rein aid. This is a magical moment and the beginning of great things to come!
Downloadable Quick-Reference Cards
Lesson:Cadence

A simple way to get to grips with this movement is to imagine a banana next to a plate. ‘Shoulder in’ curves towards the plate and ‘renvers’ curves away.

The point of this exercise is to loosen your horse’s back so that you have a lovely rhythmic trot and a soft bend through the whole body.

Set up ‘shoulder in’ in walk on a 20m circle using ‘Barbie Doll and Lego man’ arms (as learned in Spring season). Next transition to trot ‘shoulder in’.

Keep your legs long and soft. Squeeze with your calf to engage the inside hind leg. Ask once and if your horse doesn’t respond, tap with the whip.

Lift your outside hand (which becomes your new inside hand) to flex the neck to the outside and counter bend into ‘renvers’ - ‘tsk’ and reward.
REMEMBER:
Slow down! This will give you time to think, and gives your horse time to swing the hind under and give you the all important engagement in the trot.
Slow down! This will give you time to think, and gives your horse time to swing the hind under and give you the all important engagement in the trot.
- Summer
Autumn Season
Autumn is here and our lessons are starting to bear fruit! This season is dedicated to 'Flying Changes'. Follow each lesson and learn how to build up the changes step-by-step. Enjoy!
Autumn: Lesson 1
Shoulder Control
- Flying changes
- Break movement down into smaller parts
- Connecting mouth corner to front leg
- Controlling shoulders
- Clear communication
- Balance
- Weight shifting
In the beginning Fleur's flying changes are like a runaway steam train!
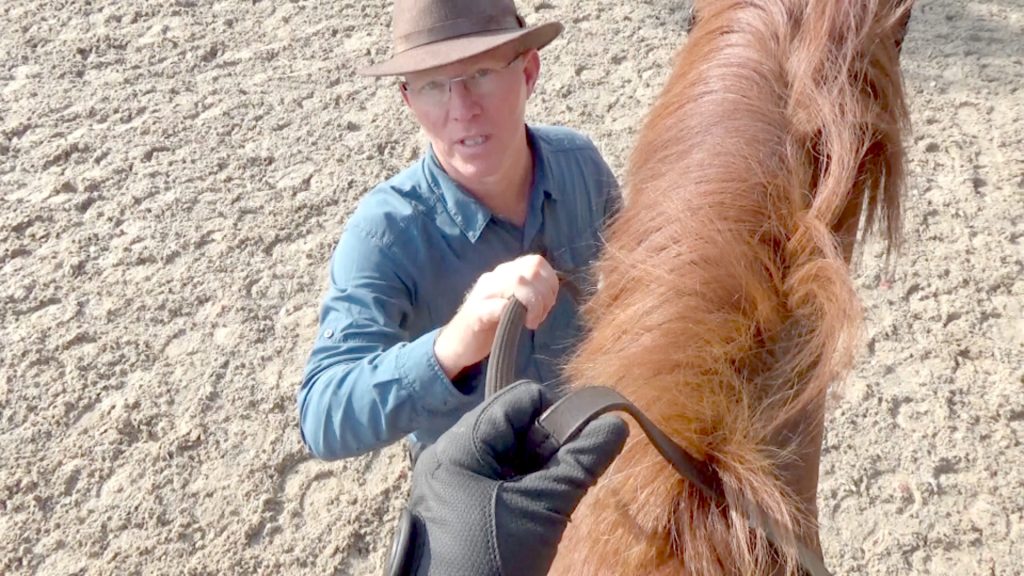
In order to improve their Flying Changes, Tracy and Fleur revisit the basics and break the movement down into smaller parts. In this lesson, Jenku explains that the more you have the mental picture that there is a connection with your horse’s mouth corners and her front legs, the better you will be able to communicate what you want your horse to do. Controlling the shoulders is the first step. Imagine that you’re a puppeteer controlling your horse’s front leg - this is a really fun exercise!
It’s important that you’re aware of where your horse’s balance is. Flying changes are all about weight shifting so that your horse’s front legs are free to lift in front. When lifting with your inside rein, be careful not to put too much slack in your rein as this will result in you jerking your horse in her mouth. Think about following the leg with your hand rather than giving too much. Ask yourself – can I get my horse to step wide with her front foot? Take a break as soon as she lightens and steps wide. Remember to keep asking for a little more each time so that she doesn’t get bored and begins to make a clear connection between your hand and her shoulder.
Autumn: Lesson 2
Rider Posture
- Flying changes
- Clear cue sequences
- Hand seat leg aids in specific order
- Counter canter
- Shallow loop
- Anticipatory anxiety
- Canter serpentine
Learn to control your body and develop 'feel' using counter canter.
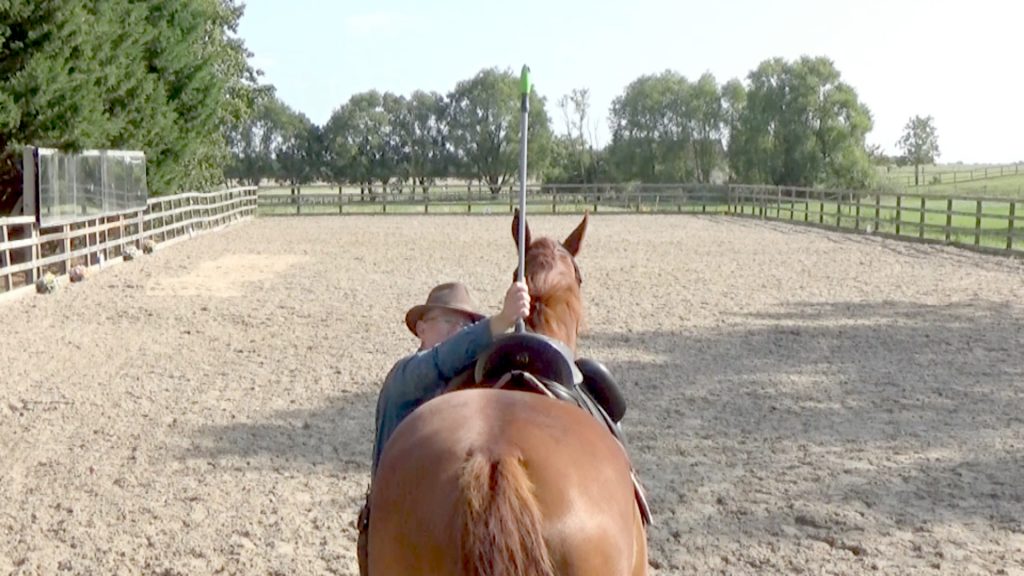
In this lesson, Tracy and Fleur demonstrate an exercise to help control your rider posture, which is essential for the flying change. There are three things that influence the horse: your hand, your seat or balance and your leg. For flying changes these three aids happen in a specific order. If your horse recognises that you give the cues in the same order then - after being very deliberate with each individual cue - you will be able to compress these to make them happen instantaneously. But if you are not in control of your posture to start with the signals will get confused!
The exercise starts in a shallow counter canter loop and then gradually we make the loop deeper and closer to the centre line. You’re building up to crossing the centre line. Because Tracy is rewarding her, Fleur is starting to think and not just rush forward which is what she used to do. Horses often have anticipatory anxiety during flying changes. The more Fleur realises that there are lots of breaks, the more she will learn to wait and be calm.
Autumn: Lesson 3
Simple Changes
- Flying changes
- Light bulb moment
- Figure of eight
- Travers
- Renvers
- Simple changes
- Engage
- Air time
- Stretch
- Lactic acid
First you learned how to control the shoulders - now control the hind.
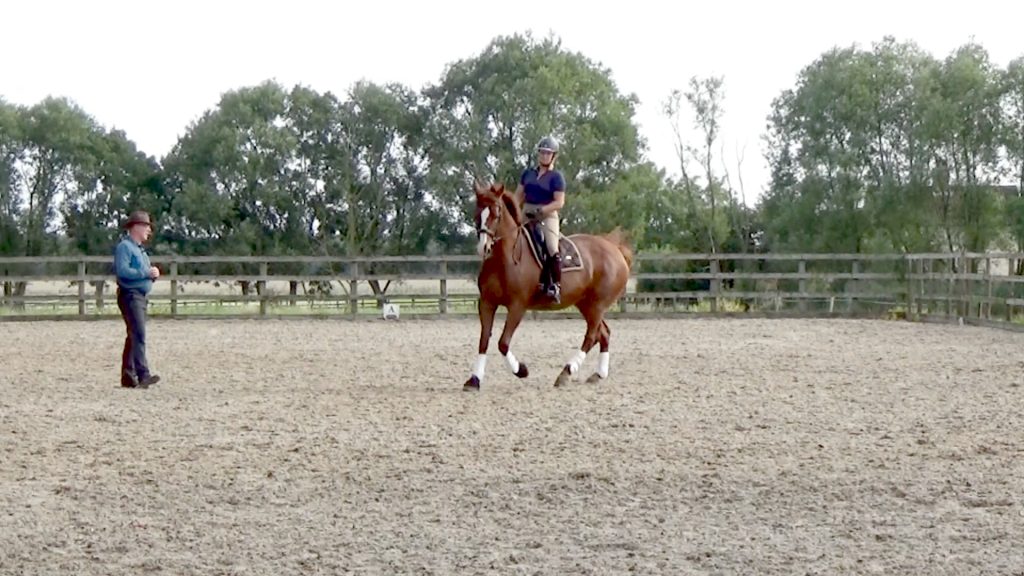
In this lesson you will learn to control your horse's hind quarters in preparation for the flying changes. To help both horse and rider develop a consciousness of where their bodies are, it’s helpful to work on a figure of 8. Begin by circling right in 'renvers', then as you come across the centre line maintain the same bend and then circle left - so by keeping the same bend you are now in 'travers' or quarters in. By changing rein and practising maintaining the bend, your horse learns to follow your lead and take heed of how your weight shifts. Once you’ve established this in walk, practise in trot.
OK next step - now pick up the canter and repeat the figure of 8 in 'travers' bringing your horse back to walk as you cross the centre line each time. In this way, you’ll be able to practice your set up and control the hind quarters and shoulders. The canter needs to be nice and bouncy to allow airtime for the changes in the next step. Fleur is doing really well! Tracy lets her stretch in between to release the build-up of lactic acid and allow red blood cells and oxygen back into her muscles.
Autumn: Lesson 4
Flying Changes
- Flying changes
- Hind quarter control
- Shoulder control
- Shift of balance
- Impulsion
- Shoulder
- Deliberate cues
- Rider looking up not down
Time to put it all together for the flying change - the results are amazing!
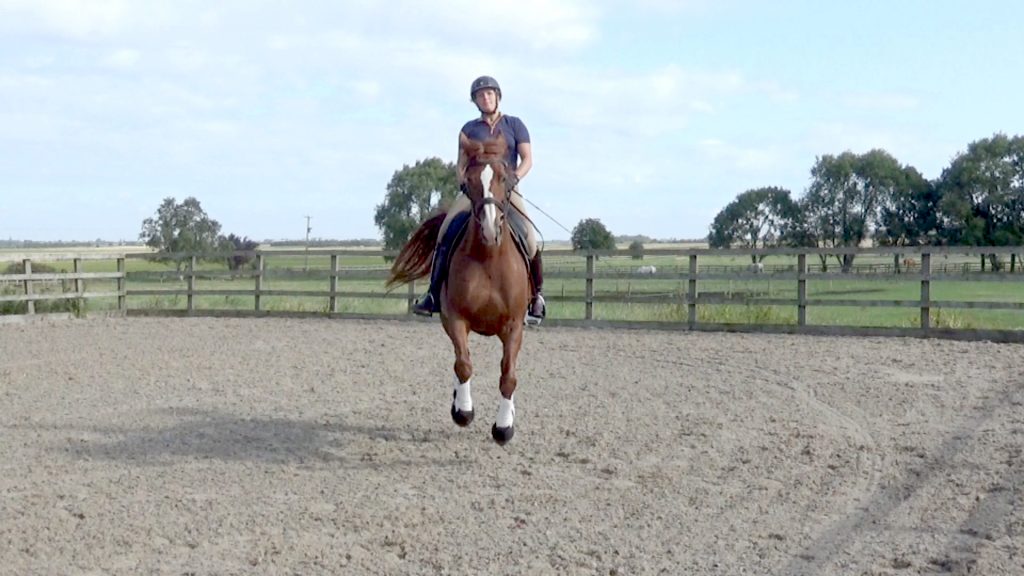
In this lesson Tracy and Fleur finally put all the pieces of the jigsaw puzzle together with some amazing results. Tracy has gone back to basics and worked hard to get Fleur’s hindquarters and shoulders yielding left and right. Most importantly, there is a proper shift of balance, so Fleur is finding it easier to come up in preparation for the next lead. All the qualities of a good flying change are there, now we just need to add impulsion.
Tracy starts on a 10 meter circle to the left. She cues Fleur to lift her inside left shoulder. As she loops back to the track, Tracy shifts her weight to the left and Fleur is able to jump off with the right leg lead. Tracy must be careful not to look down, as this shifts the weight onto the front shoulders which you’re trying to free up. These are very deliberate steps, so Fleur knows what’s coming and isn’t taken by surprise. In the beginning the cues must be obvious so that both the rider and horse understand what’s happening. As you get better at the changes, your cues will be barely observable. Tracy is thrilled with the results - well done Fleur!
Downloadable Quick-Reference Cards
Lesson:Shoulder Control

To learn ‘ flying changes’ we need to break the movement down into smaller parts. Controlling the shoulders is the first step.

Start in counter curve on a circle in walk, on the left rein. Imagine that you’re a puppeteer controlling your horse’s front leg with your left rein.

Lifting your left hand, be careful not to put too much slack in your rein as this will result in you jerking your horse in her mouth. Keep a steady contact.

Focus on your timing. Lift your left hand up as you see the left shoulder coming back. You aim is to get your horse to step wide with their front foot.

Gradually make the circle smaller - ‘tsk’ and reward every few steps when you feel the connection with the shoulder. Repeat on both reins.
REMEMBER:
Keep asking for a little more each time so that your horse begins to make a clear connection between your hand and their shoulder.
Keep asking for a little more each time so that your horse begins to make a clear connection between your hand and their shoulder.
- Autumn
Winter Season
Finally, it all comes together in this season, as we develop canter pirouettes, tempi changes and piaffe. With the right steps in place everyone can achieve the dream. Together we can!

Winter: Lesson 1
Pirouette Elements
- Canter pirouette
- Pinnacle of dressage
- Deliberate clear aid
- Weight aid
- Bend through body
- Figure of 8
- Renvers
- Travers
- Canter transition
- Click and reward
- Stacking up elements in a logical way
Can you ride a single canter stride? That's all you need to get started.
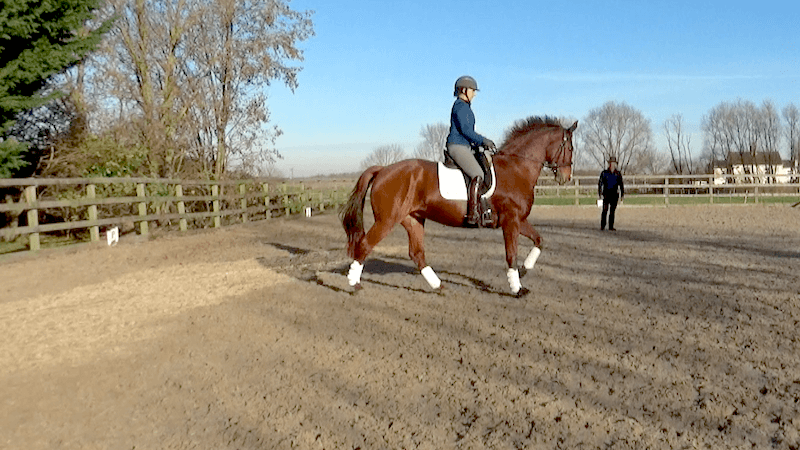
The canter pirouette is the pinnacle of dressage. It looks so timed and deliberate. To get it right so that it’s stress-free and unrushed, it’s important that you understand the elements of the canter pirouette and that these make sense to you - and your horse. Once you’ve got the first stride, then all you need to do is duplicate, duplicate, duplicate. In this lesson, Tracy and Fleur demonstrate how to build up to the canter pirouette. Tracy warms up at a walk in a figure of 8 to the right in renvers, and as she crosses the centre line she circles left in travers. You need to feel that you can put your horse’s hind legs where you want them to go.
Next they work on the canter transitions in travers. Tracy asks Fleur to move her hind quarters into the circle in travers to really bring her hind quarters under her. Then she asks for the transitions. Tracy clicks as soon as Fleur strikes off. Next Tracy works on an even smaller circle and clicks as Fleur takes one single canter stride. Everything is done so slowly, it gives Fleur plenty of time to think and anticipate the movement. All the elements stack up in a logical way and she doesn’t need to stress about what’s expected of her. Tracy realises that taking it really slowly in the walk is the best set up. If she goes faster, Fleur’s body tightens, and Tracy isn’t able to feel the right moment to ask for the strike off.
Winter: Lesson 2
Canter Pirouette
- Canter pirouette
- Progressive steps
- ¼ pirouette square
- Wrap around her inside leg
- Up in the poll
- Toolbox
- Shoulder-in
- Travers
- Click and reward
- Marginal gain
- Lego Man arms
- Weight aid
- ½ pirouette loops
- Full pirouette
Once you have one canter piro step, simply duplicate, duplicate duplicate!
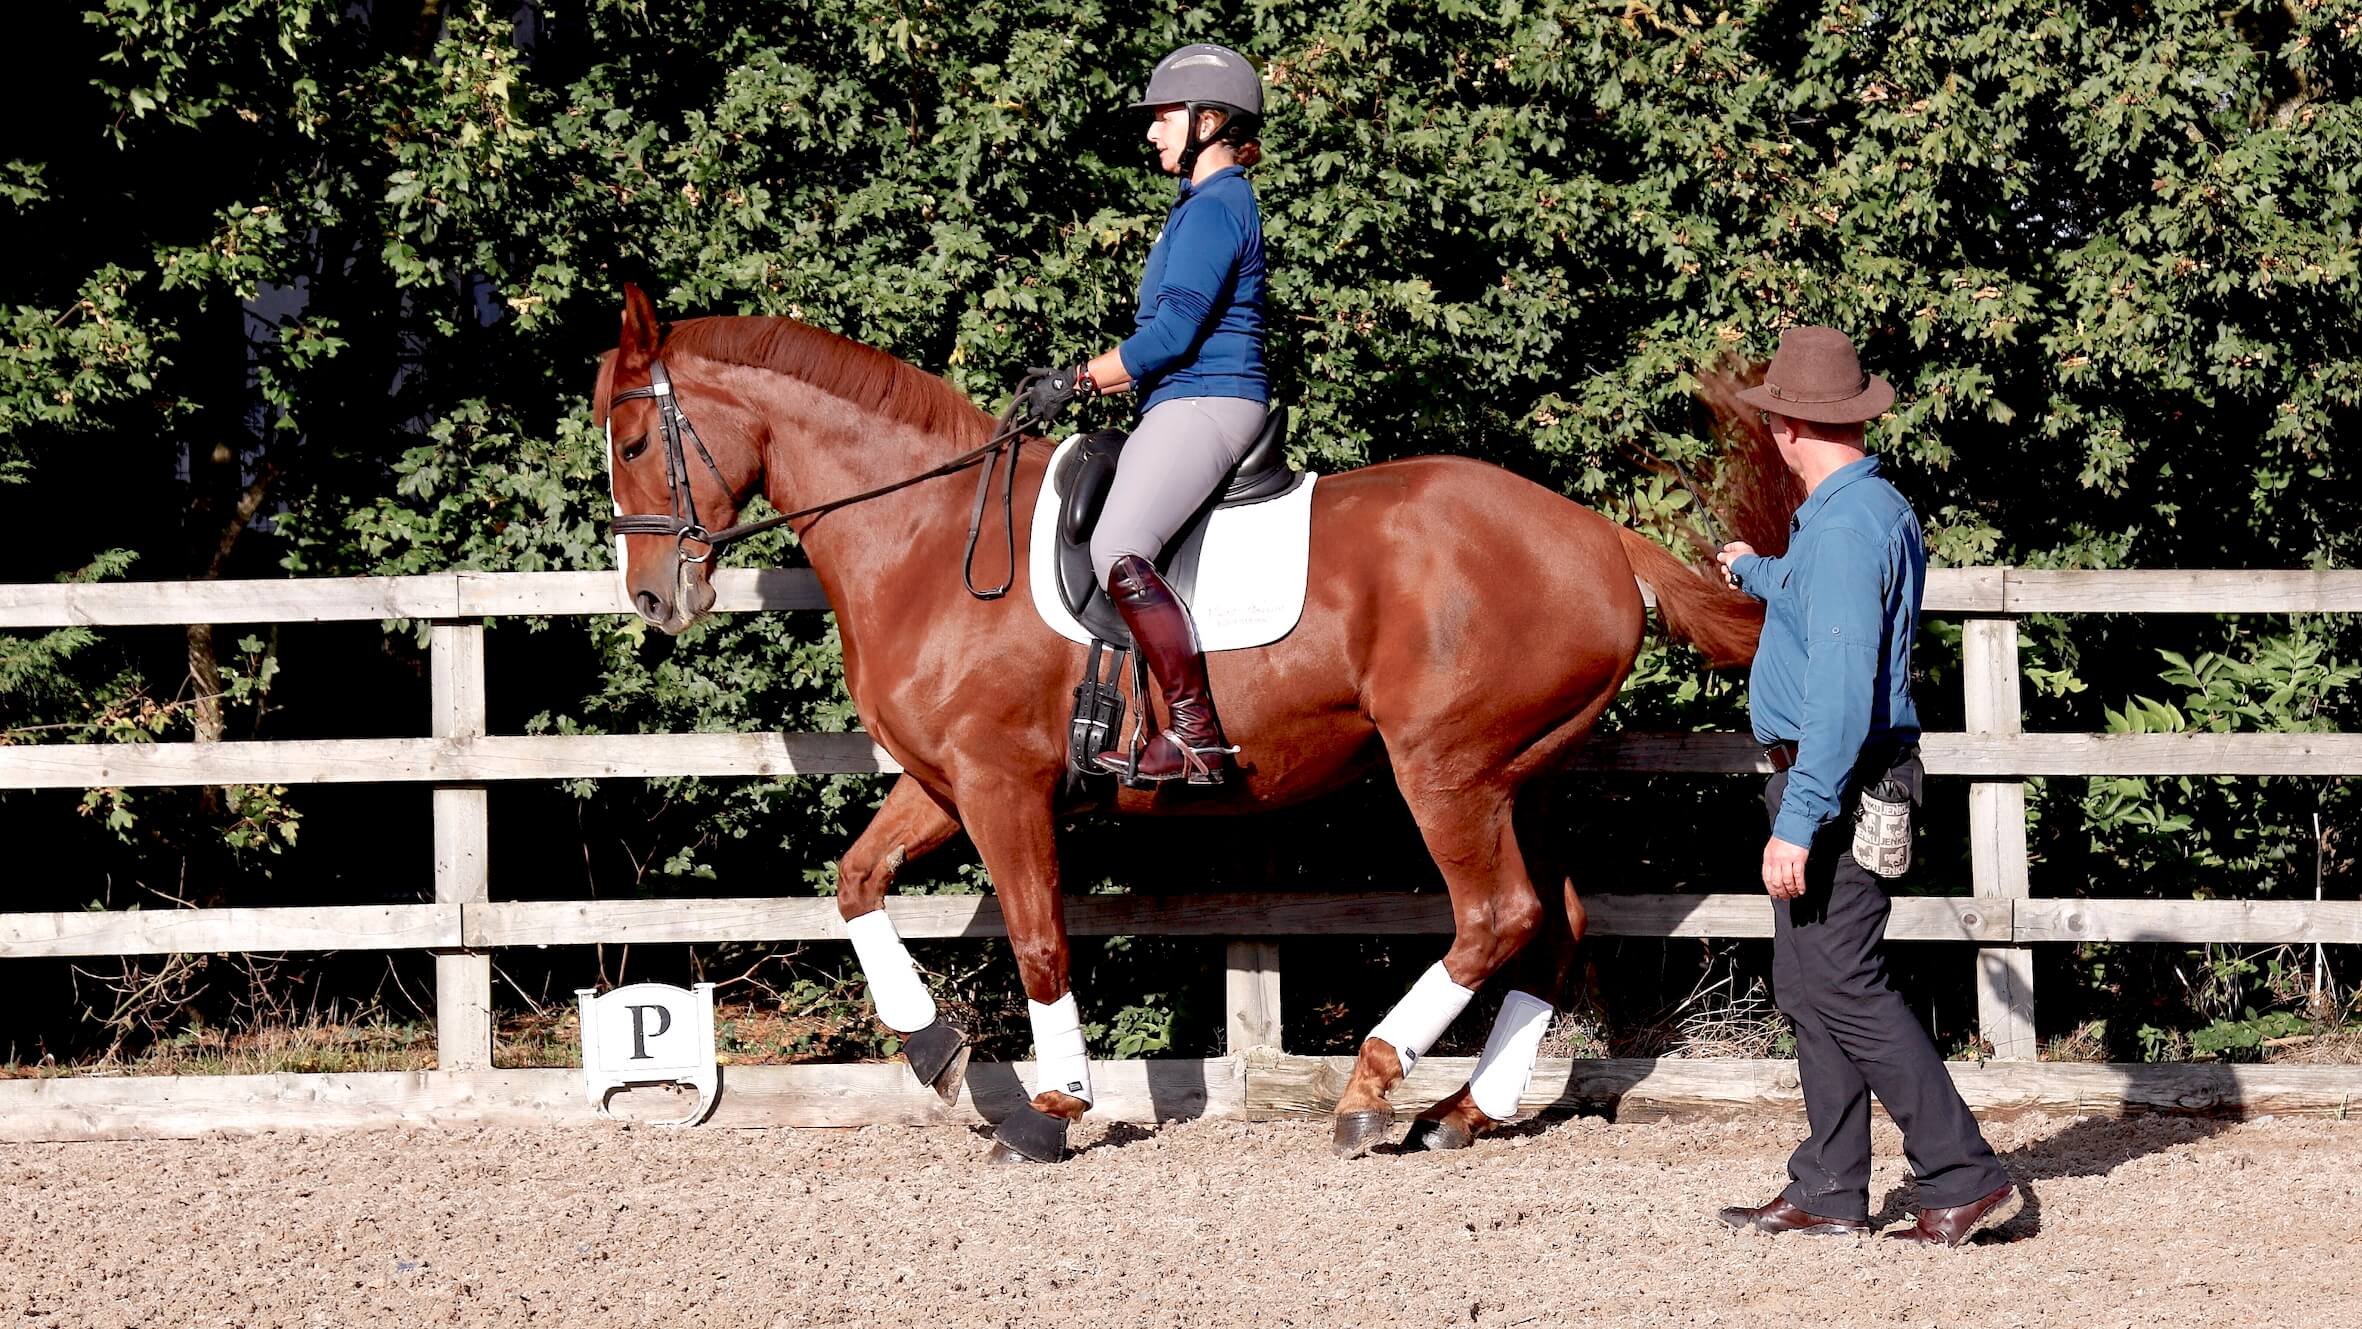
‘Up and over, up and over, up and over - Yes! Like that! Encore, Madame, Encore!’ In this lesson Jenku, Tracy and Fleur put all the elements together and are looking for that ‘Goldilocks’ moment when the canter is not too big, not too small but just right when the horse goes into the perfect circle doing a canter pirouette. It’s important to refer to the previous lesson where Tracy was able to ask Fleur to do a single canter step. Now that they have 1 step, they can add more.
On a square Tracy demonstrates a ¼ pirouette in the arena corners or where she feels that Fleur is in her best balance. Tracy needs to make sure that Fleur is really wrapped around her inside leg, is up in the poll and has a banana shape. Tracy clicks and rewards as soon as it feels good so that Fleur recognises the feeling. Now to progress to ½ pirouette. The moment they cross the centre line, Tracy asks for the pirouette and then leaves to go off on the half circle again. The reason for the half circle is to help the inside hind leg engage more. Be sure to work on both reins and then you’re ready for the full Monty. If things fall apart, now that you know the progressive steps, you can take it back a notch or two if you or your horse are unhappy. Tracy and Fleur have got it!
Winter: Lesson 3
Piaffe
- Piaffe
- Hind legs forward and under
- Engagement
- Shoulder-in
- Renvers
- Loosen horse’s back behind the saddle
- Drop tail bone
- Cadence
- Rein back
- Weight shift
- Stretch
- Lactic acid
- Straightness
- Barbie Doll correction
Follow each step and everyone can achieve the dream. Together we can!
The piaffe is the key that opens the vault and really gets the horse’s hind legs forward and under. This is engagement - the very essence of dressage. In this lesson, Jenku helps Tracy and Fleur with their piaffe and the results are fantastic. To warm up start with shoulder in to renvers as we learned in the Spring season this loosens up your horse’s back behind the saddle and makes her steps nice and springy. Asking her to come up in the poll lifts the base of her neck, and encourages her to drop her tail bone. Remember to reward the smallest try.
Jenku then explains the piaffe aids; start by shifting your legs back as though you are going to ask for a rein back but before Fleur steps backwards put your leg on to say ‘go forward’. Hey, presto! We now have some piaffe steps. The next step is to build impulsion using trot transitions, so Tracy takes Fleur on a circle, and as she comes back to the wall, she slows the energy down significantly and Fleur channels it into trotting on the spot. Because Fleur is swinging her hind quarters into the arena, all Tracy needs to do is shift her Barbie Doll hands to the left to make the correction. Be sure to stretch in between to allow the lactic acid to flush out of your horse’s muscles. Tracy and Fleur now have the piaffe under their belt - this is the dream!

Winter: Lesson 4
Tempis
- Tempis
- Prerequisites
- Don’t be afraid to try
- Warm up
- Canter walk transitions
- Weight aid
- Inside hand up
- Cue inside mouth corner
- Build impulsion
- Self-limiting beliefs
- Magic
Not long ago this was impossible for Fleur - it gets emotional at the end!
Mamma Mia! In this lesson, Jenku helps Tracy and Fleur tackle tempis. For many riders tempis are terrifying. It feels like the sky is going to fall on their heads and they are so afraid to try. But, because there are so many prerequisites that you need to have in place before you can do tempis, you don’t need to panic. If things start falling apart, all you need to do is take a step back. As long as the rider stays relaxed, half the battle is won.
Fleur has been known to tank off across the arena in flying changes so for the warm up, Tracy asks Fleur to go from walk to canter, walk to canter. All Tracy needs is a few canter strides to help Fleur tune in to her. As she shifts her balance to the outside, her inside hand comes up and Fleur feels the inside mouth corner, so she knows that she needs to bring her inside leg up. These cues give Fleur plenty of time to process what she needs to do. Now Tracy and Fleur must build impulsion. To do this they canter four strides, then really collect and then go again. When all the buttons are checked, it’s time to work on tempi changes first every four strides, then three and then finally the two’s. For Tracy this is a culmination of an amazing journey. Most riders have self-limiting beliefs but if you follow the steps, it’s so much fun and this is where the magic is. Woo hoo! What an amazing Christmas present at the end of a jam-packed year.
Downloadable Quick-Reference Cards
Lesson:Pirouette Elements

Start in walk in ‘renvers’, then maintain the bend into ‘travers’ on a small fig of 8. Feel that you can control your horse’s hind quarters in every step.

It’s important to understand the elements of the pirouette and that your aids are light. The leg is an early warning signal for the whip - tap if you need to.

Next on a circle, walk to canter transitions, staying in ‘travers’ to bring hind quarters under - ’tsk’ and reward as soon as your horse strikes off in canter.

Next make the circle smaller approx 5m (a cone is helpful as a guide) - ‘tsk’ and reward as soon as your horse strikes off in canter. Repeat on both reins.

Finally, aim to isolate one single canter stride. Once you’ve got that first stride, then all you need to do is duplicate, duplicate, duplicate.
REMEMBER:
All the elements stack up in a logical way, and everything is done so slowly, to give your horse plenty of time to think and anticipate the movement.
All the elements stack up in a logical way, and everything is done so slowly, to give your horse plenty of time to think and anticipate the movement.
- Winter
